How to Create a Menu
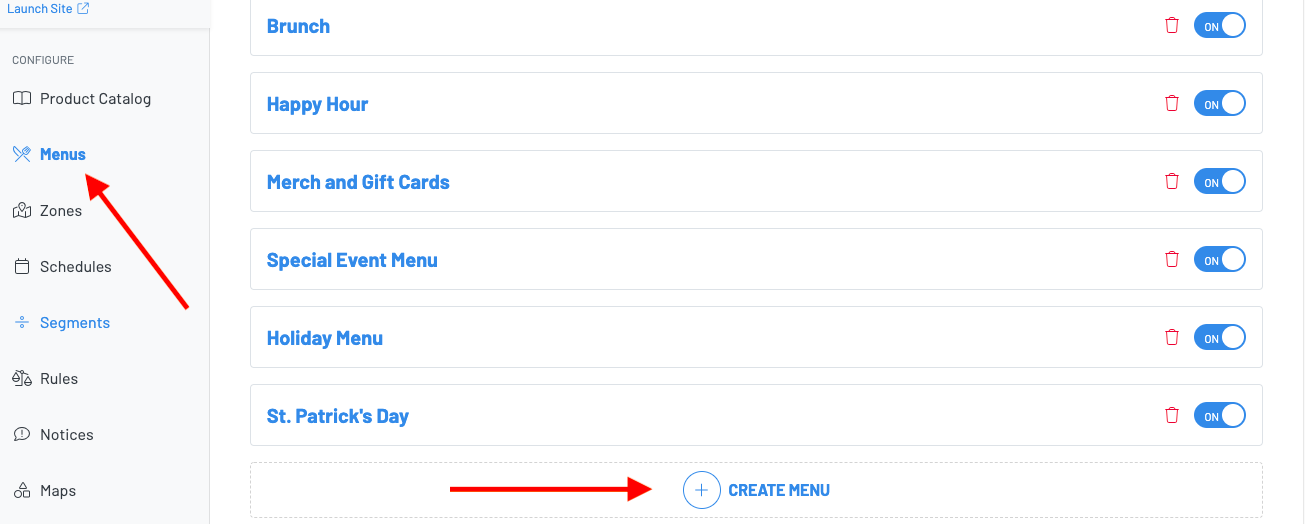
Navigate to your Manager Dashboard, then press Menus > + Create Menu
-
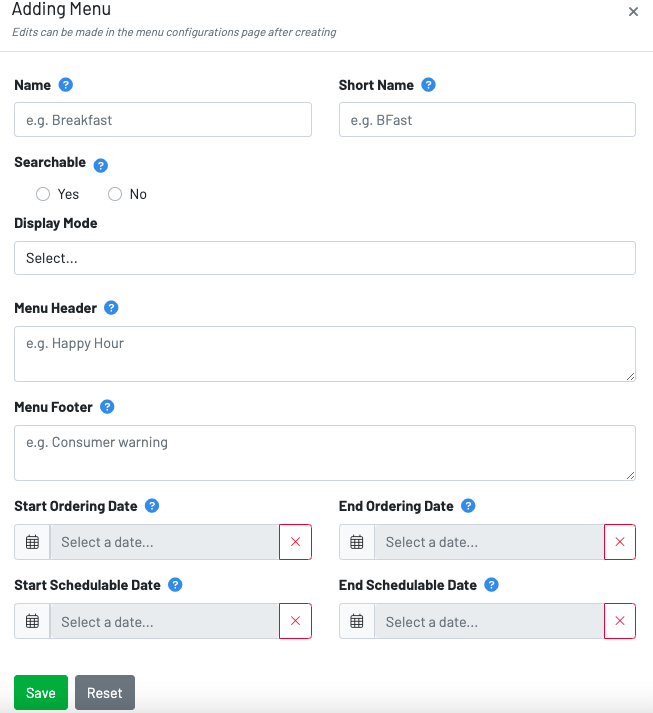
Name: Input the name of the menu
-
Short Name: This will automatically appear on the POS (EX: The menus name is Draft Beers but you make the short name Draft for ease of navigation)
-
**Searchable: **Hides this menu from any user selection. The menu may only be accessed by scanning a code or using a direct link. Searchable on allows guests to navigate to the menu from the landing page. Searchable off keeps your menu accessible only by scanning a QR or clicking on a direct link. In most cases, searchable should always be enabled.
-
**Display Mode: **This setting controls the menu layout. **S****tandard view **is the best option. This view will show pictures of products as well as the descriptors for seamless guest ordering.
-
**Menu Header and Menu Footer: **Input announcements, hours of operations, and consumer warnings.
-
**Start and End Ordering Date: **The ordering date is the time frame in which the guest can order from the menu. If not set, a guest can begin an order any time.
-
**Start and End Start Schedulable Date: **The schedulable date is when the guest can pick-up their order.
Once you have finished filling out this information, click into the menu to finish the menu creating process.

-
**Schedule **allows you to adjust when the menu is available for guests to view and order from
-
Attach Image to display an image for your menu on the landing page
-
**Filters and Tagging **allows you to include or exclude items that are tagged in your product catalog.
**Example: **Create a tag called “Bottle Beer” and tag all of your beer bottles
- Open Menu is a quick and easy way to access your menu for testing/viewing. Pro tip: Keep your menu with searchable set to “No” until you are done, and access from here.
-
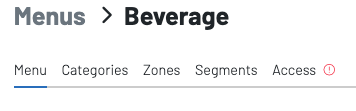
Menu: Allows you to edit all information already inputted.
-
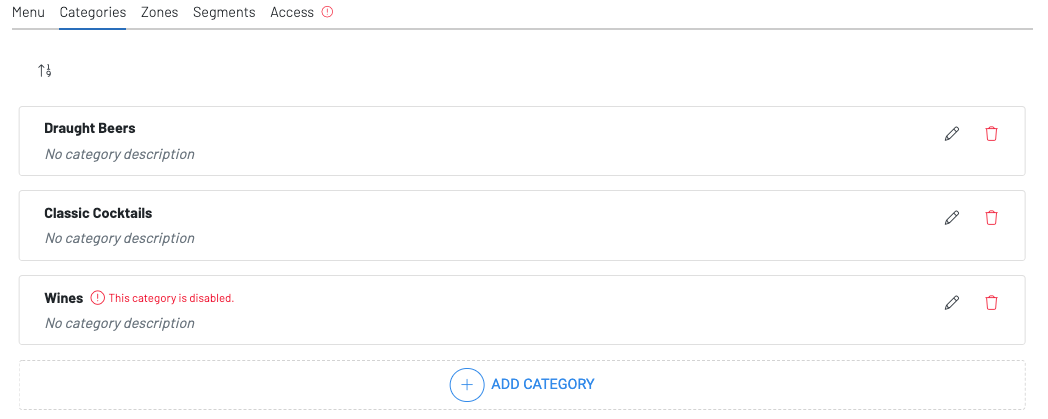
Categories: You will pull in categories that have already been created within the Product Catalog.
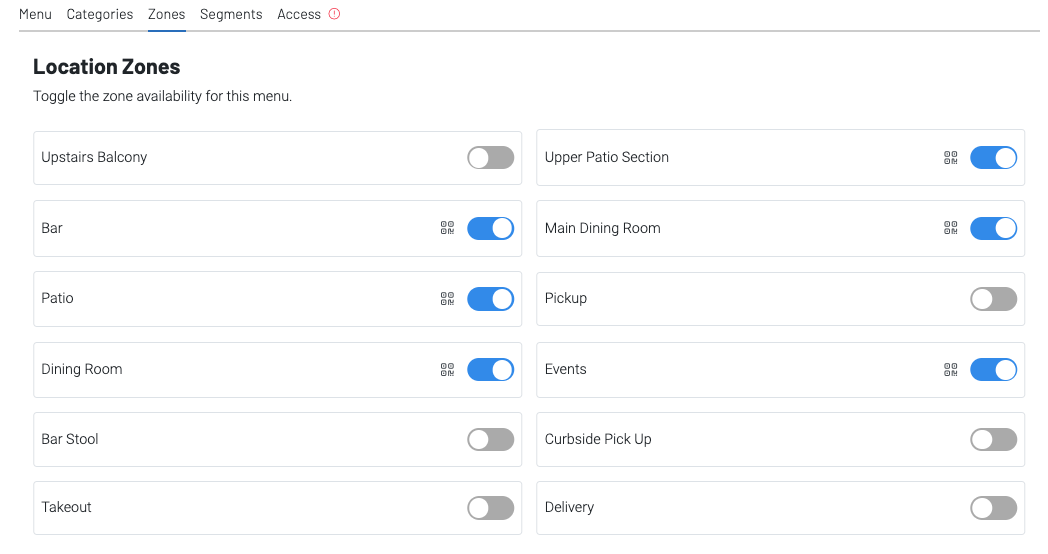
- Zones: The Zones header lets you choose where to have your menu available. The menu will adopt the settings of each zone that it is placed in.
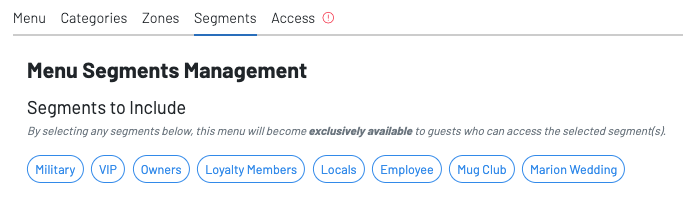
- **Segments **allows you to have this menu be accessible to only a certain group of people.
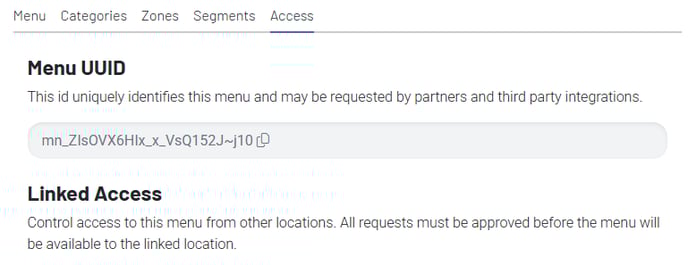
- **Access **is used when sharing menus from one location to another, like in a food hall. It is also used when linking menus to third party integrations.